
A good cheese snack should be warm, crispy, rich, and easy to make. This cheese dreams recipe turns simple ingredients like bread, sharp cheddar, butter, and seasonings into delicious bites for breakfast, lunch, parties, or an afternoon snack.
Cheese dreams are savory bread snacks that can be baked, toasted, or fried until the bread turns golden and the cheese melts.
Some versions use grated cheddar mixed with mustard, Worcestershire sauce, and spices, while others keep things simple with bread, butter, and cheese.
This recipe combines sharp cheddar, butter, mustard, and seasonings to create a flavorful topping that is easy to prepare at home.
Simply spread the mixture over bread, cut it into small pieces, and bake until the edges become crisp and the cheese is melted and bubbly.
You can also add herbs or a little hot sauce for extra flavor. Whether you are preparing a quick snack or a party appetizer, cheese dreams offer a simple, satisfying way to enjoy melted cheese.
Key Takeaways
- Best cheese: Sharp cheddar offers a rich, tangy flavor.
- Best cooking method: Baking makes it easy to prepare several bites at once.
- Preparation time: About 15–20 minutes.
- Cooking time: About 10–15 minutes, depending on bread size and oven.
- Best occasions: Brunch, family snacks, game-day parties, and holiday gatherings.
- Easy variations: Add paprika, cayenne, herbs, or finely chopped ham.
1. What Are Cheese Dreams?
Cheese dreams are savory bread-and-cheese snacks that have appeared in American home cooking and party menus for generations. They are especially associated with nostalgic Southern cocktail-party food, although recipes vary by household and cookbook.



4
The basic idea is simple: combine cheese with seasonings, spread it on bread or assemble it into small sandwiches, and cook until the cheese melts and the bread becomes crisp.
Some recipes resemble open-faced cheese toast. Others use two slices of bread to create a small sandwich. Older versions may include eggs, butter, or different types of cheese. A historic recipe collection preserved by the Library of Congress includes cheese dreams made with grated cheese, egg, butter, and paprika, showing that the dish has taken several forms over time.
Cheese dreams vs. grilled cheese
These dishes share familiar ingredients, but their preparation and serving styles can differ.
| Feature | Cheese dreams | Grilled cheese |
| Typical shape | Small squares, rounds, or finger sandwiches | Full-sized sandwich |
| Cheese preparation | Often mixed with seasonings | Usually sliced or grated |
| Cooking method | Commonly baked or broiled | Usually cooked in a skillet |
| Serving style | Party appetizer or snack | Lunch or light meal |
| Flavor | Often tangy and seasoned | Usually buttery and cheesy |
Neither dish has just one fixed recipe. The main difference is that cheese dreams are often prepared as small, seasoned bites for sharing.
2. Cheese Dreams Recipe: Ingredients and Measurements
This easy baked version makes approximately 16 small appetizer pieces, depending on how you cut the bread. It uses familiar ingredients and delivers a crisp base with a rich cheese topping.

Sharp cheddar cheese
1 cup, freshly grated (about 4 ounces)
Provides a bold, savory flavor and a good melting texture.
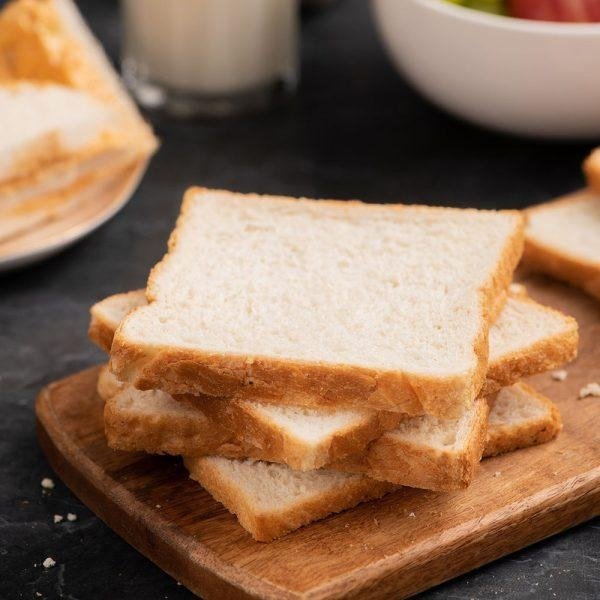
Bread
4 slices
White sandwich bread works well, but sourdough or soft whole-wheat bread can also be used.
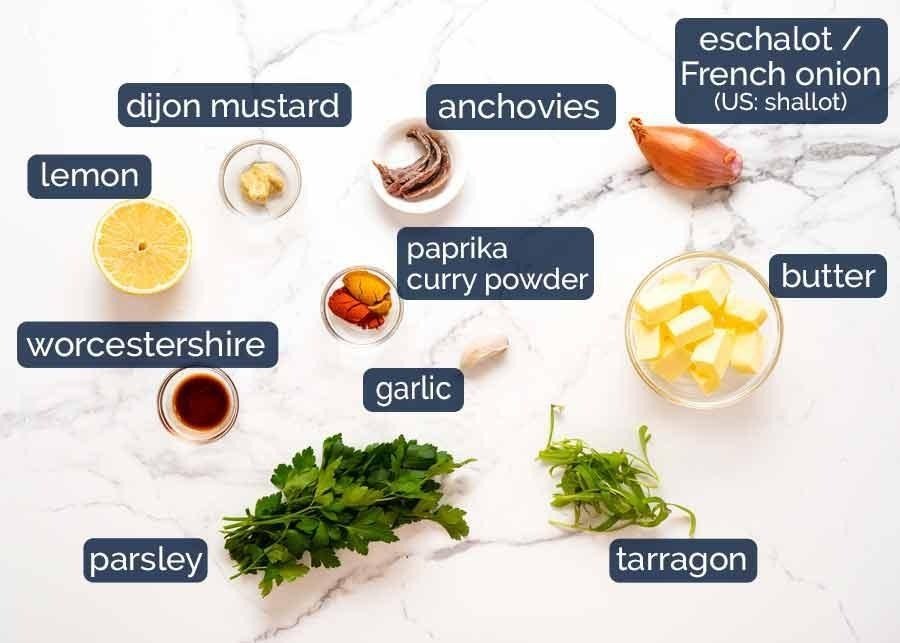
Butter and seasonings
2 tablespoons softened butter, 1 teaspoon Dijon mustard, 1 teaspoon Worcestershire sauce, and 1/8 teaspoon paprika
These ingredients help bind the cheese mixture and add depth.
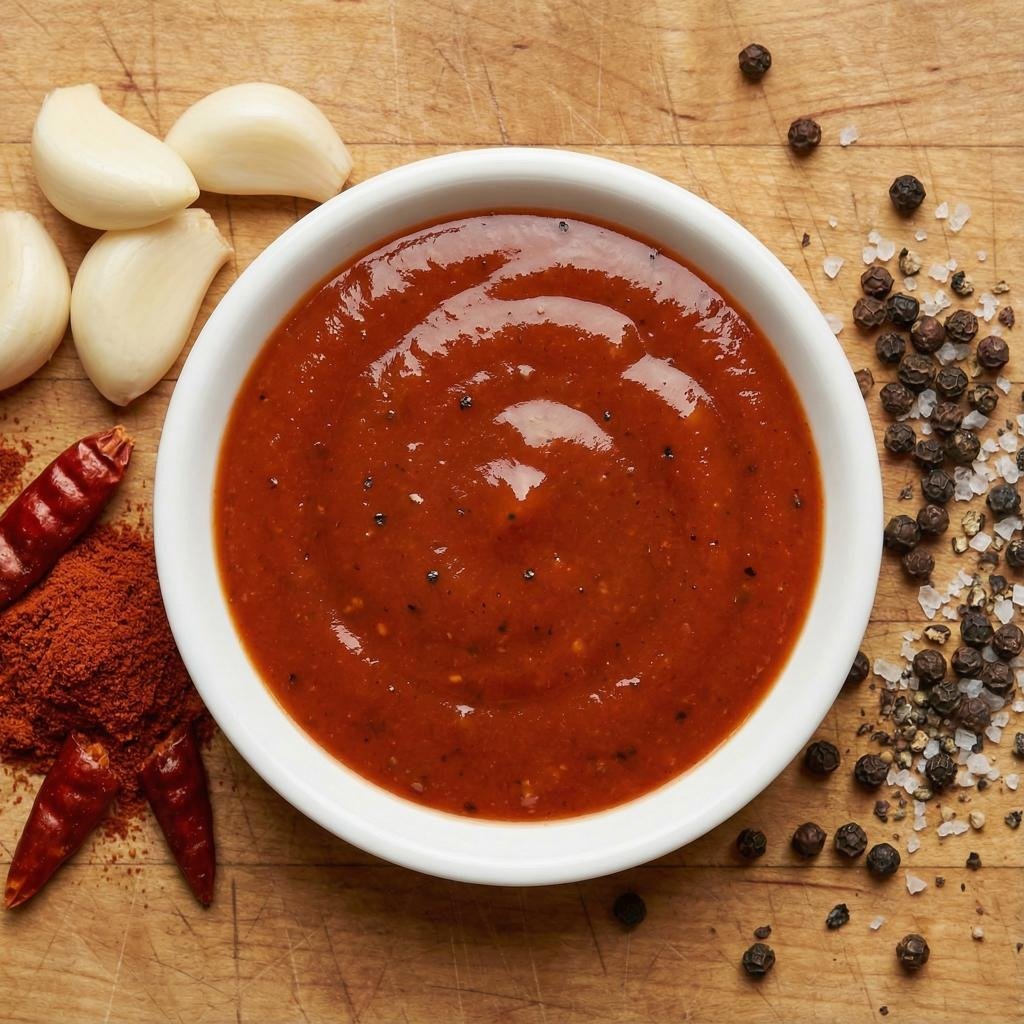
Optional flavor boosters
A few drops of hot sauce, black pepper, or 1/4 teaspoon garlic powder
Use these to adjust the flavor to your liking.
Which cheese works best?
Sharp cheddar is an excellent first choice because its strong flavor stands out against the bread. Medium cheddar gives a milder result, while a small amount of Monterey Jack can make the mixture softer and creamier.
Freshly grated cheese is usually preferable because it mixes easily with softened butter. Pre-shredded cheese is still convenient, so use it if that is what you have available.
Helpful tip: Let the butter soften before mixing. Cold butter can leave lumps and make the cheese spread harder to work with.
3. How to Make Cheese Dreams Step by Step
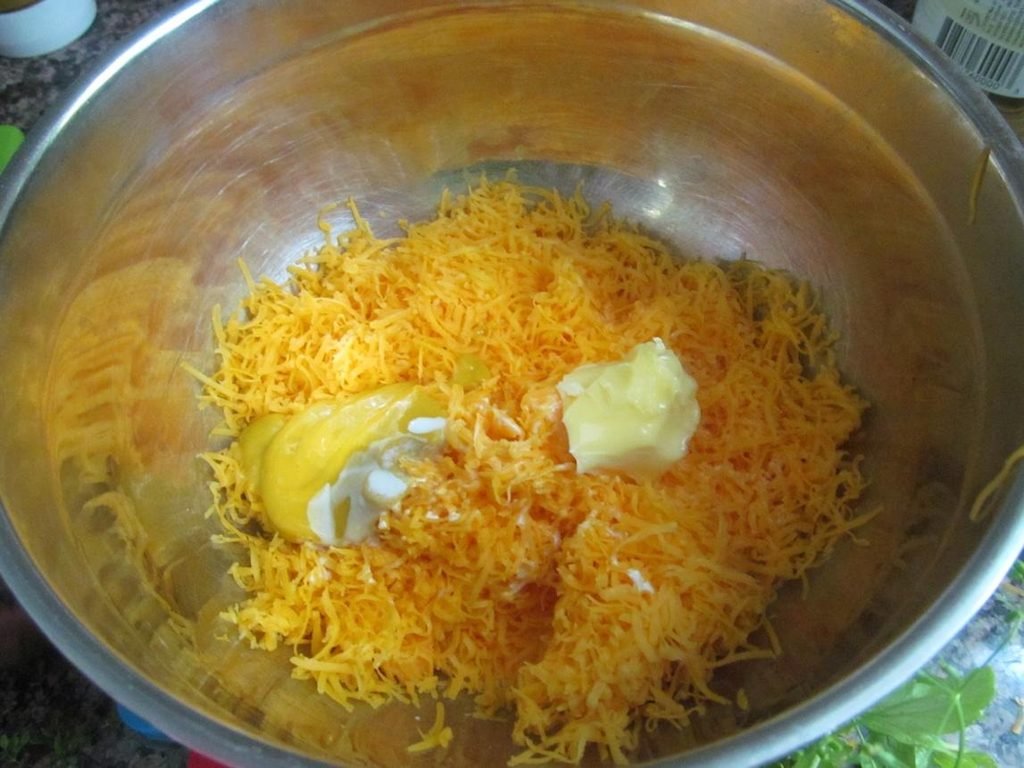
Step 1st: Preheat the oven
Preheat your oven to 400°F. Line a baking sheet with parchment paper to make cleanup easier and help prevent sticking.
If you prefer a softer base, use a slightly lower temperature and allow more time. The exact cooking time will depend on your oven and the thickness of the bread.
Step 2nd: Prepare the cheese mixture
Place the grated cheddar and softened butter in a mixing bowl. Add the Dijon mustard, Worcestershire sauce, paprika, and any optional seasonings.
Mix until the ingredients form a thick, spreadable paste. The mixture should hold together without being so stiff that it tears the bread.
Step 3rd: Prepare the bread
Lay the four bread slices on a clean cutting board. If you want a neater party presentation, trim the crusts before adding the topping.
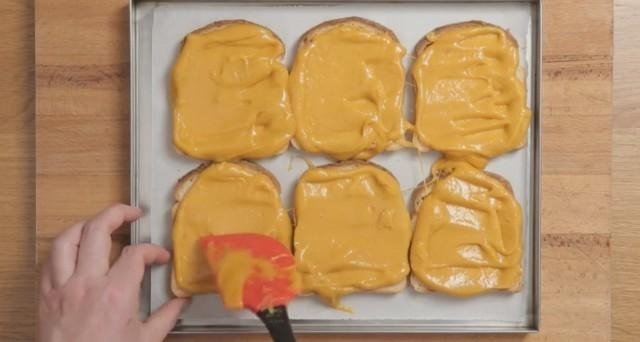
Spread the cheese mixture evenly over the bread. Cut each slice into four squares, giving you approximately 16 appetizer pieces.
For a closed-sandwich version, place a second slice of bread on top before cutting. Keep the filling fairly thin so it warms through without squeezing out too much.
Step 4th: Arrange the pieces
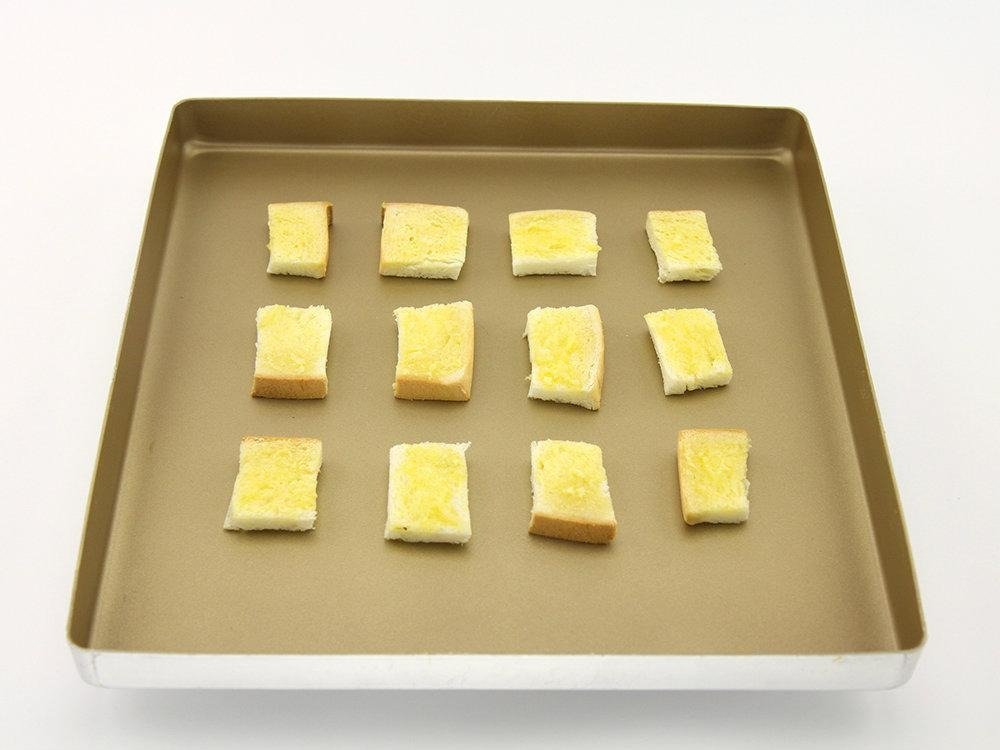
Place the bread pieces on your prepared baking sheet with a little space between them. Avoid stacking or crowding the pieces, as this can prevent the edges from crisping evenly.
For extra crunch, place the bread directly on the baking sheet rather than using a deep dish. The exposed edges will brown more easily.
Step 5th: Bake until golden
Bake for approximately 10–15 minutes, checking the pieces after about 8 minutes. They are ready when the cheese is melted, the topping is lightly browned, and the bread edges are crisp.
If you want a deeper golden finish, use the broiler briefly at the end. Watch closely because cheese can go from lightly browned to burnt very quickly.
Step 6th: Cool slightly and serve
Let the cheese dreams rest for 2–3 minutes before serving. The cheese will be very hot when it first comes out of the oven.
Transfer the pieces to a serving plate and garnish with a little paprika or finely chopped parsley if desired. Serve while warm for the best combination of crisp bread and melted cheese.
4. Cooking Tips for Crispy, Flavorful Cheese Dreams
A simple recipe can still go wrong if the bread becomes soggy or the cheese browns too quickly. These practical tips will help you get a more consistent result.
Choose bread that holds its shape.
Soft white bread is easy to cut and works well for a classic appetizer. Slightly firm bread can be even better because it holds the topping without becoming limp.
If the bread is very fresh and soft, leave the slices uncovered for a short time before preparing them. Avoid letting them dry out completely.
Grate the cheese yourself.
Freshly grated cheddar generally blends more smoothly with softened butter than cheese straight from a bag. It also makes it easier to spread the mixture in an even layer.
If you use pre-shredded cheddar, mix it thoroughly and allow the cheese mixture to sit for a few minutes so the butter can coat the shreds.
Keep the topping even
A thick mound of cheese may brown on top before the bread becomes crisp. A thin, even coating helps the cheese melt at a similar rate across each piece.
Leave a small border around the edges if you want to reduce the amount of cheese that runs onto the pan.
Avoid too much moisture.
Wet ingredients can make the topping loose and the bread soggy. Add hot sauce sparingly, and make sure fresh herbs or chopped vegetables are not dripping with water before mixing them in.
If the cheese mixture seems too soft, add a little more grated cheddar instead of adding extra butter.
Use the right cooking method
| Method | Best for | What to expect |
| Oven baking | Large batches and parties | Even cooking with little hands-on work. |
| Broiling | A quick browned finish | Fast browning; requires close attention. |
| Skillet cooking | A few individual pieces | Rich, toasted bread and direct heat. |
| Air frying | Small batches | Quick cooking and crisp edges; timing varies. |
For most home cooks, baking is the easiest option because you can prepare several pieces at once.
5. Easy Cheese Dreams Recipe Variations
One reason cheese dreams remain useful in a home cook’s recipe collection is that you can change the flavor without changing the basic method.
Classic Southern Cheese Dreams
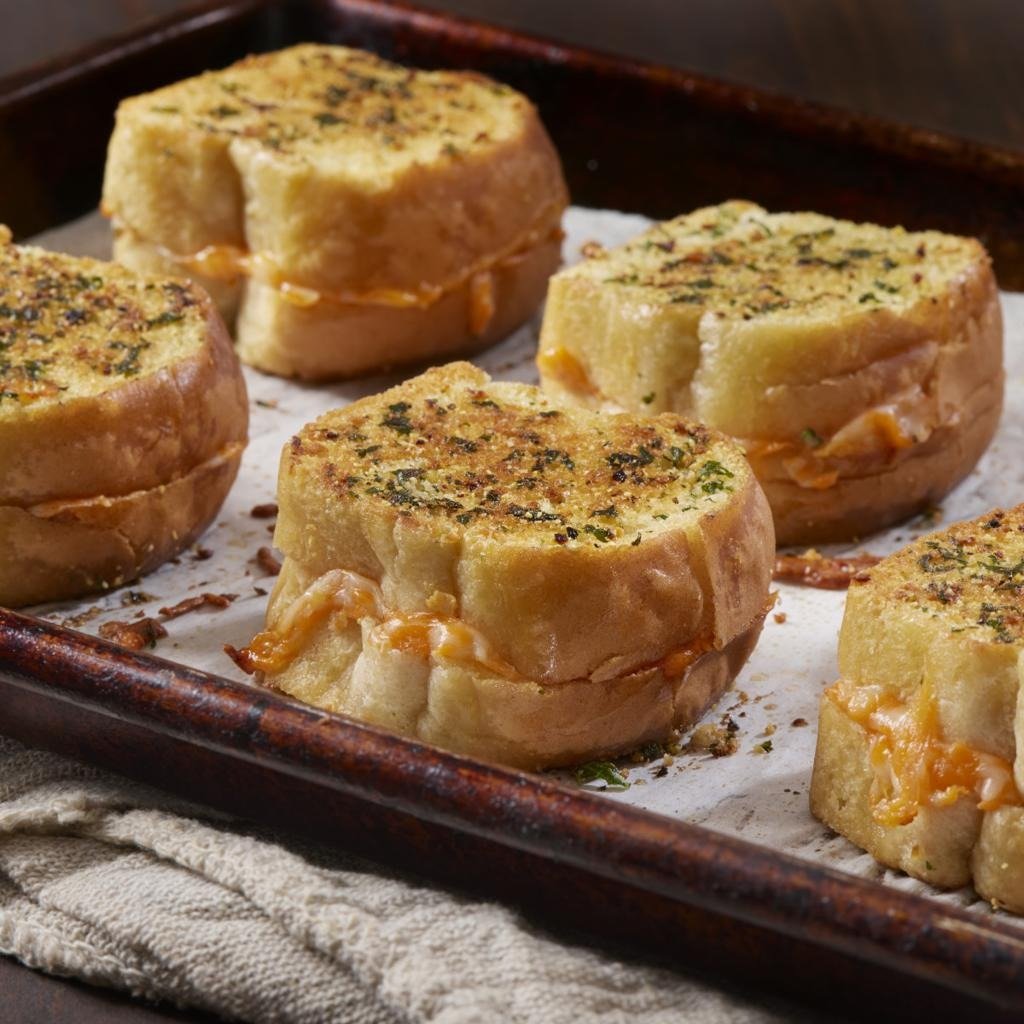
Keep the cheddar, butter, mustard, and Worcestershire sauce. Add a dash of hot sauce and paprika for a savory, tangy finish. This is a good version to serve at holiday gatherings or casual parties.

Garlic and Herb Cheese Dreams
Add a small amount of garlic powder, dried oregano, or chopped chives. These ingredients complement cheddar without hiding its flavor. Use fresh herbs sparingly so the topping does not become watery.
Spicy Cheese Dreams
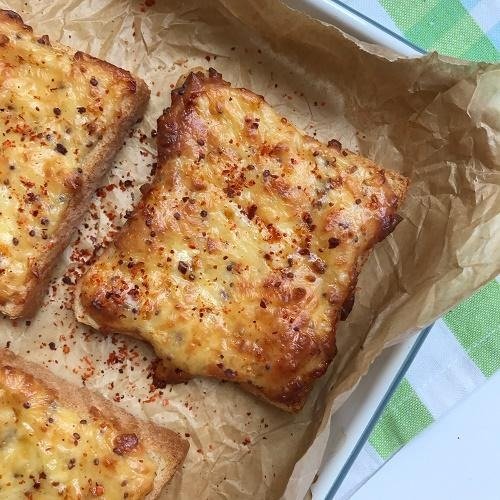
Add cayenne pepper, crushed red pepper, or a few extra drops of hot sauce. Start with a small amount, then adjust the seasoning before spreading the mixture onto the bread.

Ham and Cheese Dreams
Finely chop a little cooked ham and fold it into the cheese mixture. You can also make small closed sandwiches. Keep the filling modest so the bread stays crisp and the sandwiches remain easy to handle.

Two-Cheese Dreams
Mix cheddar with Monterey Jack for a milder, creamier topping. You can also try a little Parmesan for a sharper, saltier note. Taste the mixture before adding extra salt because different cheeses vary in saltiness.
Can you make cheese dreams without Worcestershire sauce?
Yes. Leave it out or replace it with a small amount of soy sauce if you enjoy that flavor. Keep in mind that soy sauce is salty and contains soy, so check the label if you are cooking for someone with a food allergy.
A little mustard, paprika, and black pepper can provide plenty of flavor without either ingredient.
Can you make them gluten-free?
Yes. Use certified gluten-free bread and check the labels on your mustard, Worcestershire sauce, and other seasonings. Ingredients and manufacturing practices vary by brand, so verify the products you choose if you are preparing food for someone with celiac disease.
6. What to Serve With Cheese Dreams
Cheese dreams are rich and savory, so they pair well with fresh, crisp, or slightly sweet foods. You can serve them as a snack or build a larger spread around them.

Best dips and toppings
- Pepper jelly: Adds a sweet and spicy contrast to sharp cheddar.
- Tomato chutney: Provides acidity and a savory tomato flavor.
- Mild salsa: Works well with spicy cheese dreams.
- Honey mustard: Adds sweetness and tang.
- Herb dip: Offers a cool contrast to the warm cheese topping.
For a classic party presentation, place the cheese dreams on a platter with a small bowl of pepper jelly. Food Network’s cheese dreams recipe also recommends sweet-hot pepper jelly as an accompaniment.
Side dishes for a light meal
If you want to serve cheese dreams for lunch or brunch, consider pairing them with:
- A green salad with a light vinaigrette.
- Fresh cucumber, carrots, and bell pepper strips.
- Tomato soup or vegetable soup.
- Sliced apples or grapes.
- A simple fruit salad.
These sides balance the richness of the cheese without requiring much extra cooking.
When should you serve cheese dreams?
Cheese dreams work particularly well for game-day gatherings, afternoon snacks, potlucks, holiday appetizers, and casual brunches. Their small size makes them easy to share, and you can prepare a large batch without assembling full-sized sandwiches.
For a party, serve them in small batches as they come out of the oven. That way, guests can enjoy the crisp texture while the remaining pieces stay warm.
7. Make-Ahead, Storage, and Reheating Tips
Planning makes this recipe even more convenient, especially if you are serving guests.
Can you prepare cheese dreams ahead of time?
Yes. Prepare the cheese mixture, spread it onto the bread, and cut the pieces before baking. Arrange them in a single layer on a tray, cover them, and refrigerate until you are ready to cook.
For the best texture, bake them close to serving time. If you prepare them in advance, keep the bread covered so it does not dry out in the refrigerator.
Some traditional cheese dreams recipes can also be frozen before baking. Food Network notes that its version freezes well after assembly, although the best freezing method and baking time depend on the specific recipe.
How to store leftovers
Let leftover cheese dreams cool briefly, then place them in a covered container and refrigerate promptly. The USDA recommends refrigerating perishable foods within two hours, or within one hour when the surrounding temperature is above 90°F. Properly refrigerated leftovers generally keep for three to four days.
For the best quality, store the cheese dreams in a single layer if possible. This helps reduce crushing and makes reheating easier.
How to reheat cheese dreams
The oven or air fryer is usually better than the microwave when you want to restore crispness.
| Reheating method | Suggested approach | Result |
| Oven | Heat at 350°F for about 5–8 minutes | Warm center and crisp edges |
| Air fryer | Heat at 325°F for about 3–5 minutes | Crisp surface; works best in small batches |
| Microwave | Heat briefly in short intervals | Fast, but bread may become soft |
These are starting estimates, not fixed cooking times. Check the pieces frequently, as their size and thickness affect how quickly they heat.
When reheating leftovers, the USDA advises bringing them to 165°F. Use a food thermometer when appropriate, especially when reheating larger portions.
Can you freeze cheese dreams?
Freezing can be useful if you want to prepare appetizers ahead of a gathering. Freeze assembled, unbaked pieces in a single layer until firm, then transfer them to a freezer-safe container with parchment between layers.
For the best quality, label the container with the preparation date. Bake from frozen only if your recipe and baking method allow it, and expect to adjust the cooking time. Check that the centers are fully hot before serving.
8. Nutrition, Ingredient Swaps, and Common Mistakes
Cheese dreams are an appetizer rather than a complete meal, but you can adjust the ingredients to suit your preferences.
Are cheese dreams healthy?
That depends on the ingredients, portion size, and your overall eating pattern. Cheese provides protein and calcium, while bread supplies carbohydrates. Butter and cheese also contribute saturated fat and sodium.
The exact nutrition information will vary with the type of bread, the cheese brand, and the amount of topping used. Without calculating the specific ingredients and serving size, it would be misleading to give a precise calorie count.
For a lighter version, consider these changes:
- Use a little less butter.
- Choose whole-grain bread for more fiber.
- Make smaller pieces to help manage portions.
- Add finely chopped herbs for more flavor without much extra salt.
- Serve with fresh vegetables or a salad.
Remember that using less cheese can change the texture. Make small adjustments first rather than changing every ingredient at once.
Common cheese dreams mistakes
| Mistake | Why it happens | How to fix it |
| Soggy bread | Too much moisture or a thick topping | Use a moderate amount of cheese mixture. |
| Burnt cheese | High heat or excessive broiling | Check frequently near the end. |
| Bland flavor | Mild cheese or too little seasoning | Use sharp cheddar and taste the mixture. |
| Uneven browning | Pieces are different sizes | Cut the bread into even squares. |
| Greasy topping | Too much butter | Measure the butter and mix it evenly. |
| Cheese falling off | Topping is too loose or uneven | Spread a consistent layer and avoid excess liquid. |
The biggest lesson is to keep the topping balanced. You want enough cheese to create a rich flavor without making the bread too heavy to crisp.
Conclusion:
This cheese dreams recipe is an easy way to turn everyday bread and cheddar into a warm, crispy, flavorful snack. With a few simple ingredients, you can prepare small cheese bites that work for family lunches, weekend brunches, holiday parties, or casual evenings at home.
The secret is to use flavorful cheese, soften the butter before mixing, spread the topping evenly, and watch the oven as the bread turns golden. Sharp cheddar, mustard, Worcestershire sauce, and paprika make a delicious starting point, but you can adjust the seasonings to match your taste.
You can also prepare the pieces ahead of time, experiment with different cheeses, or add herbs and spices for variety. Serve them with pepper jelly, fresh vegetables, tomato soup, or a simple salad for a more complete spread.
If you have never made cheese dreams before, start with the classic baked version. Once you get the texture right, you can explore your own combinations and make this nostalgic cheese appetizer a regular part of your recipe collection.
FAQs:
What are cheese dreams made of?
Cheese dreams typically contain bread, cheese, butter, and seasonings. Many recipes use sharp cheddar, mustard, paprika, and Worcestershire sauce. Some versions include eggs or additional ingredients, depending on the traditional recipe being followed.
How long do you bake cheese dreams?
At 400°F, small cheese dreams generally take about 10–15 minutes. Check them early because bread thickness, topping quantity, and oven performance affect the cooking time. They are ready when the cheese is melted, and the edges are golden and crisp.
Can you make cheese dreams in an air fryer?
Yes. Arrange the prepared pieces in a single layer and start checking them after about 4–6 minutes at 350°F. Adjust the temperature and time as needed for your appliance, and watch carefully to prevent the cheese from burning.
What is the best cheese for cheese dreams?
Sharp cheddar is a popular choice because it provides a strong, tangy flavor. Monterey Jack makes the topping milder and creamier, while Parmesan can add a sharper, saltier note. Freshly grated cheese usually mixes well with softened butter.
Can you freeze cheese dreams before baking?
Yes, many versions can be frozen after assembly. Freeze the prepared pieces on a tray before transferring them to a freezer-safe container. Follow your recipe’s instructions for baking from frozen, adjusting the time as needed and checking that the centers are thoroughly hot.
Read More Posts:
- Plated Dreams Meaning: Symbolism, Food, and Emotions
- Monster Strawberry Dreams: What Could They Mean?
- Cirque Dreams Holidaze: A Complete Guide to the 2026 Holiday Show

Daniel Brooks is a passionate writer at WorldofDreamsz.Com specializing in dream meanings and spiritual interpretations. He aims to provide easy-to-understand insights that help readers find meaning and purpose in everyday life.